Replacing your air conditioner is a significant investment, and it’s natural to have questions about what the installation process involves. Whether your current system has reached the end of its lifespan or you’re upgrading to a more energy-efficient unit, knowing what to expect during an air conditioner installation can help you prepare your home and make the experience much smoother.
While every home is different, professional HVAC installations generally follow a structured process designed to ensure your new system operates safely, efficiently, and according to manufacturer specifications. From evaluating your existing equipment to testing the new system before the technicians leave, every step plays a role in your air conditioner’s long-term performance.
If you’re scheduling a professional air conditioner installation, understanding what happens before, during, and after the appointment allows you to set realistic expectations and avoid unnecessary surprises.
Why Proper Installation Matters
Many homeowners focus on choosing the right air conditioner but overlook the importance of installation quality. Even a high-efficiency system can underperform if it isn’t installed correctly.
A properly installed air conditioner can help:
- Deliver consistent cooling throughout your home
- Improve energy efficiency
- Reduce monthly utility costs
- Extend the life of the equipment
- Lower the likelihood of future repairs
- Maintain manufacturer warranty requirements
Professional installation also ensures that local building codes, electrical standards, and safety requirements are followed. A properly installed air conditioner can deliver reliable cooling for many years, but installation is only one part of maintaining indoor comfort. Regular air conditioning services help keep your system operating efficiently while reducing unnecessary wear and tear throughout its lifespan.
Before Installation Day
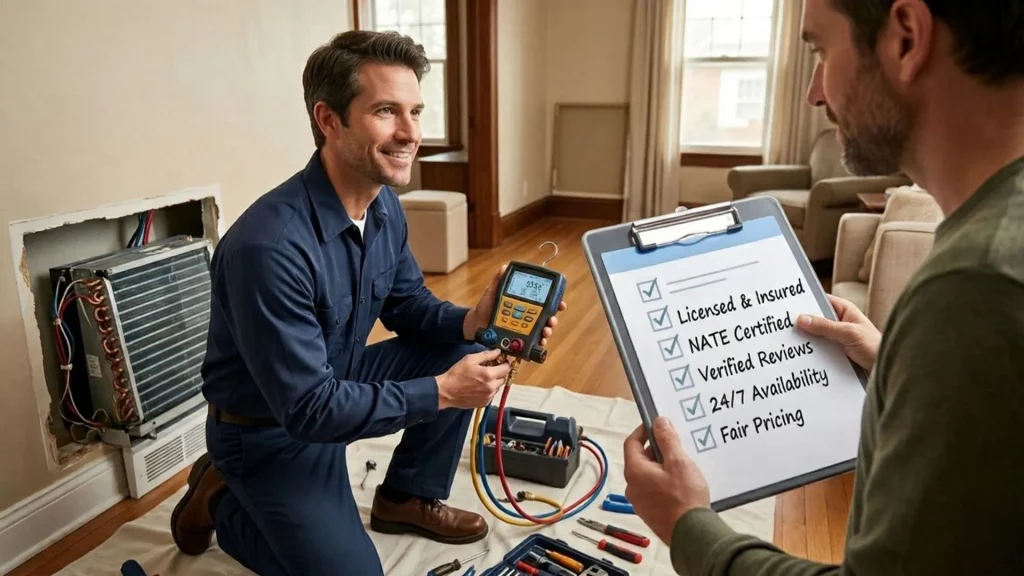
Preparation begins well before the installation crew arrives. A reputable HVAC contractor typically schedules an assessment to confirm that the selected system is the right fit for your home.
During this visit, the technician may evaluate:
- Your home’s square footage
- Existing ductwork
- Insulation levels
- Window placement and sun exposure
- Electrical capacity
- Current HVAC equipment
- Airflow throughout the home
This assessment helps determine the appropriate system size. Installing an oversized or undersized air conditioner can reduce efficiency, increase wear on the equipment, and create uneven indoor temperatures.
Choosing the Right System
Not every air conditioner is suitable for every home. Factors such as cooling capacity, energy efficiency ratings, and compatibility with your existing HVAC components all influence the final recommendation.
Your contractor may discuss:
- System capacity
- Energy efficiency ratings
- Variable-speed options
- Smart thermostat compatibility
- Indoor air quality upgrades
- Warranty coverage
Choosing the correct system before installation helps prevent performance issues later.
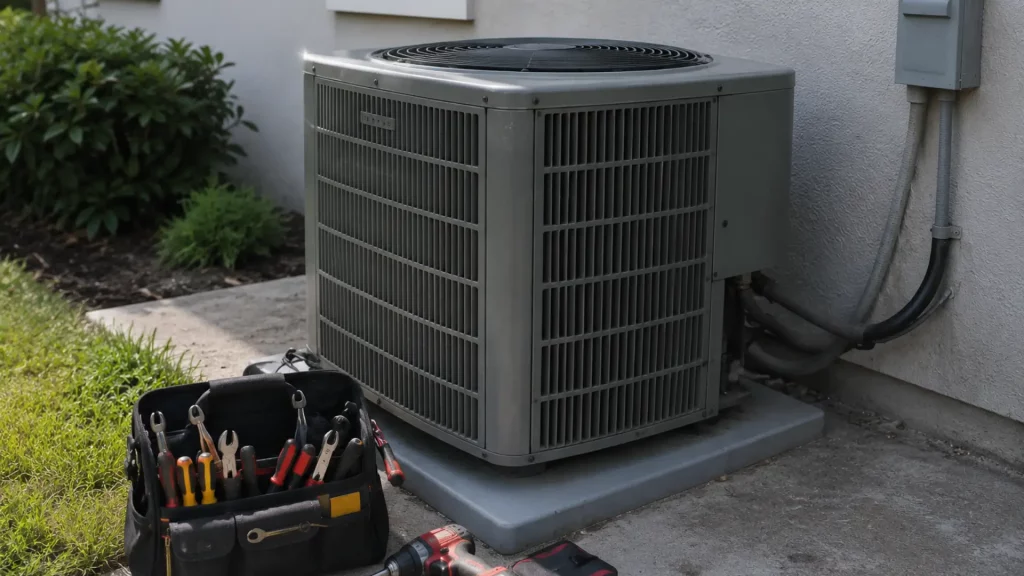
What Happens on Installation Day?
Most residential installations begin with the technicians reviewing the project and confirming the work that will be completed. They’ll also answer any last-minute questions before getting started. The exact timeline depends on your home’s layout and the complexity of the project, but the installation generally follows several key steps.
Step 1: Disconnecting the Old Air Conditioner
The first step is safely shutting down the existing HVAC system.
This involves:
- Turning off electrical power
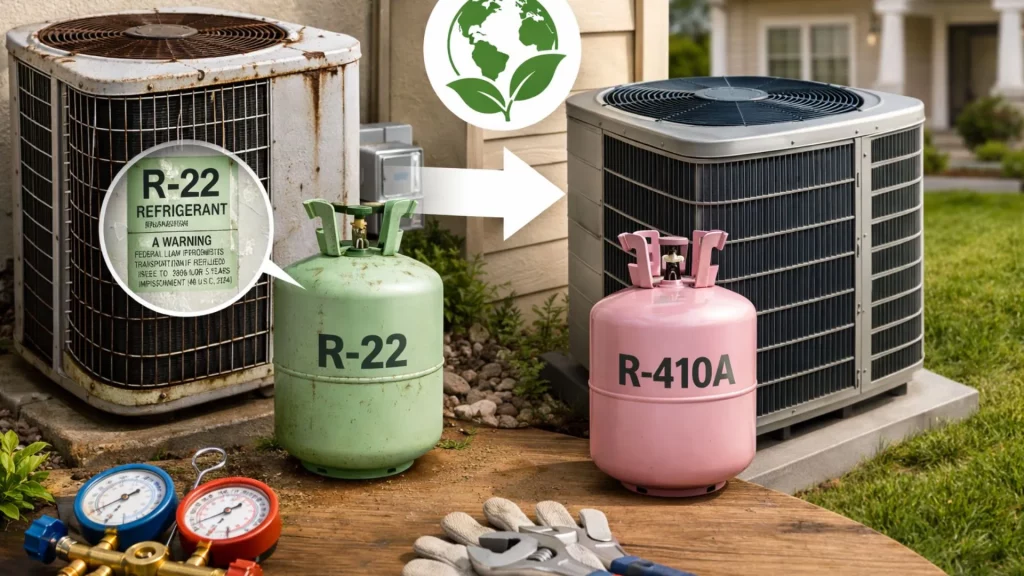
- Recovering refrigerant according to environmental regulations
- Disconnecting electrical wiring
- Removing the outdoor condenser
- Removing indoor components if necessary
If your system includes both a furnace and evaporator coil, the technician will determine which components should be replaced and which can remain. Proper refrigerant recovery is especially important because federal regulations prohibit releasing refrigerant into the atmosphere.
Step 2: Inspecting Existing Components
Once the old equipment has been removed, technicians inspect the remaining HVAC components.
They may examine:
- Refrigerant lines
- Drain lines
- Electrical connections
- Air ducts
- Return air system
- Supply vents
- Equipment platform
This inspection helps identify hidden problems that could affect the performance of your new air conditioner. For example, damaged refrigerant lines or clogged condensate drains can lead to efficiency issues if left unaddressed.
Step 3: Installing the New Indoor Equipment
The indoor portion of the system is installed first in many homes.
Depending on your setup, this could include:
- Evaporator coil
- Air handler
- Furnace connection
- Drain pan
- Condensate drain line
Technicians ensure every connection is level, secure, and properly sealed. Small installation details matter because even minor air leaks can reduce overall system efficiency.
Step 4: Installing the Outdoor Condenser
Next, the outdoor condenser is positioned on a stable, level surface.
The installation team connects:
- Refrigerant lines
- Electrical wiring
- Communication cables
- Disconnect box
- Condensate components where applicable
Proper spacing around the condenser is also important. Adequate clearance allows unrestricted airflow, helping the system operate efficiently and making future maintenance easier.
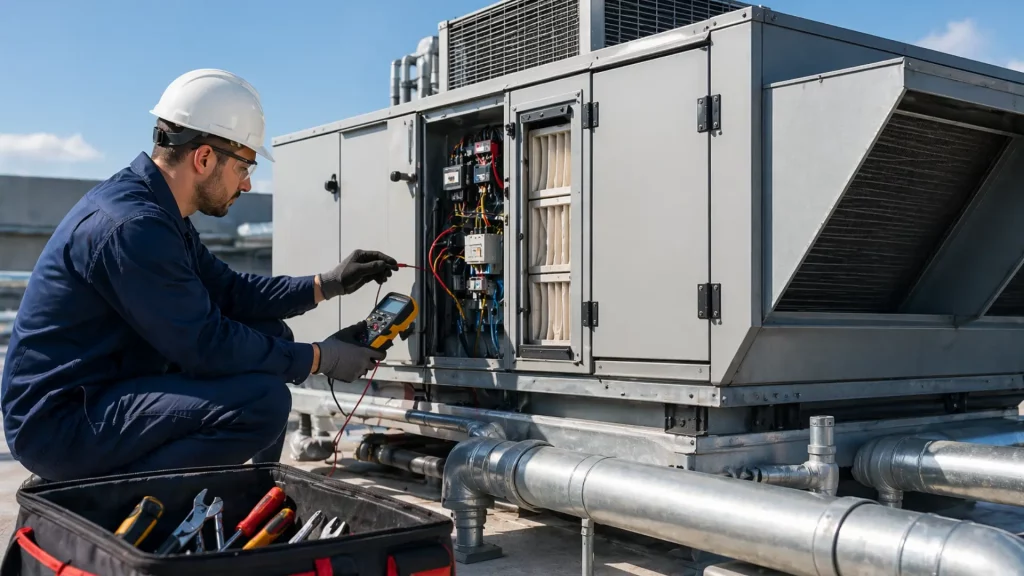
Step 5: Electrical Connections and Safety Checks
Every new system requires safe electrical connections that comply with local codes.
During this phase, technicians verify:
- Correct voltage
- Proper grounding
- Secure wiring connections
- Breaker compatibility
- Disconnect switch operation
Electrical safety checks help reduce the risk of equipment damage and ensure the system operates reliably from the start.
Step 6: Connecting the Refrigerant Lines
The refrigerant lines carry heat between the indoor and outdoor units.
After connecting these lines, technicians typically:
- Pressure test the system
- Check for leaks
- Evacuate moisture and air using a vacuum pump
- Charge the system with the correct refrigerant amount if required
These steps are critical because even a small refrigerant leak can reduce cooling performance and increase energy consumption.
Step 7: Installing or Upgrading the Thermostat
If you’re replacing an older HVAC system, installation day is often the ideal time to upgrade your thermostat.
Modern programmable and smart thermostats provide benefits such as:
- Better temperature control
- Energy-saving schedules
- Remote access through mobile apps
- Usage reports
- Improved comfort throughout the day
Proper thermostat placement also helps ensure accurate temperature readings.
Step 8: System Startup and Performance Testing
Once every component has been installed, the technicians will power on the system and begin a series of performance tests. This is one of the most important parts of the AC installation process because it confirms that everything is operating as intended before the job is complete.
During startup, the technician may check:
- Thermostat communication
- Airflow from each supply vent
- Refrigerant pressure
- Temperature difference between return and supply air
- Electrical readings
- Condensate drainage
- Indoor and outdoor unit operation
Rather than simply turning the system on, the technician verifies that it is cooling efficiently and that all components are working together properly.
Step 9: Final Inspection and Cleanup
Before leaving, the installation team will complete a final walkthrough of the system and the work area.
This typically includes:
- Tightening access panels
- Securing electrical covers
- Cleaning the installation area
- Removing the old equipment
- Disposing of packaging materials
- Confirming the thermostat settings
- Reviewing system operation with the homeowner
A professional installation should leave your home as clean as it was before the work began.
How Long Does an Air Conditioner Installation Take?
One of the most common questions homeowners ask is how long the installation will take.
For a standard residential replacement, most installations are completed within 4 to 8 hours. However, every home is different, and the timeline can vary depending on several factors. Installation may take longer if:
- Ductwork needs repairs or modifications
- Electrical upgrades are required
- The indoor equipment is difficult to access
- A new refrigerant line set is needed
- Additional indoor air quality equipment is being installed
- Unexpected issues are found after removing the old system
Your HVAC contractor should provide an estimated timeline before work begins so you know what to expect.
What Should Homeowners Do After Installation?
Once your new air conditioner is running, take a few minutes to learn about the system from the technician.
Ask questions such as:
- How often should the air filter be replaced?
- What thermostat settings are recommended?
- When should maintenance be scheduled?
- What does the warranty cover?
- What signs indicate that service may be needed?
Understanding these basics can help you keep your new system operating efficiently for years to come. It’s also a good idea to register the manufacturer’s warranty if required. Some manufacturers require product registration within a specific time frame to receive full warranty coverage.
A properly installed system doesn’t just improve comfort. It can also help lower your cooling costs by operating more efficiently, especially when paired with regular maintenance and good energy-saving habits throughout your home.
Tips for Getting the Best Performance From Your New AC
Installing a new air conditioner is only the first step. Regular care will help maintain comfort, efficiency, and system reliability.
To keep your system in good condition:
- Replace or clean the air filter as recommended.
- Keep the outdoor unit free of leaves, dirt, and debris.
- Avoid blocking indoor vents with furniture.
- Schedule professional maintenance at least once a year.
- Monitor your energy bills for unexpected increases.
- Listen for unusual noises and report them early.
- Keep vegetation trimmed around the outdoor condenser.
Routine ac maintenance helps prevent small issues from becoming expensive repairs and can extend the lifespan of your equipment.
Common Questions Homeowners Have
What should I expect during an air conditioner installation?
You can expect the old system to be removed, the new indoor and outdoor equipment to be installed, electrical and refrigerant connections to be completed, followed by system testing and a final walkthrough.
How long does AC installation usually take?
Most residential installations are completed within four to eight hours, although larger or more complex projects may require additional time.
Do I need to prepare my home before installation?
Yes. Clearing access to the indoor and outdoor units, securing pets, and removing obstacles can help the installation team work more efficiently.
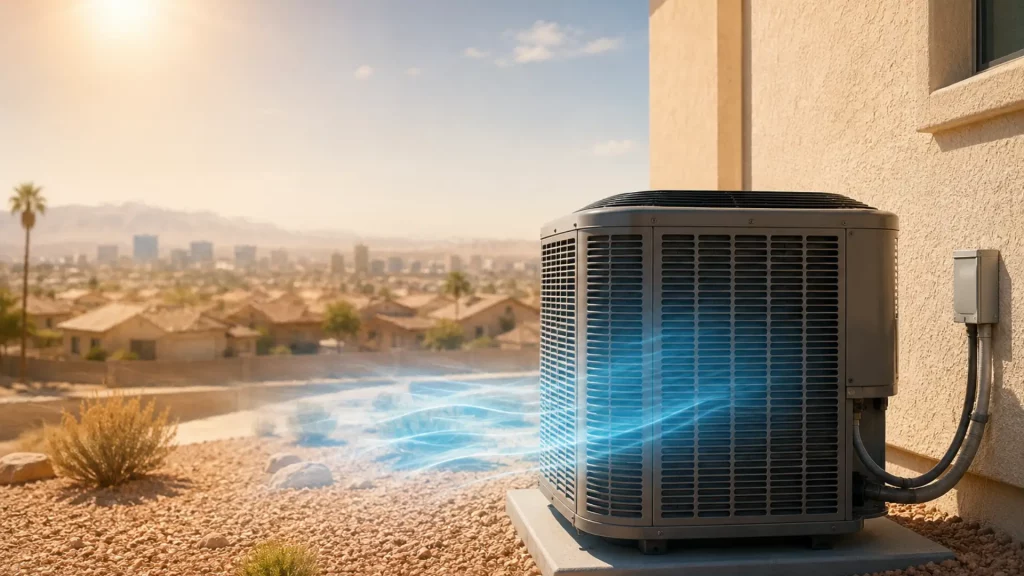
Will a new air conditioner lower my energy bills?
If your previous system was older or inefficient, a properly sized and professionally installed replacement may reduce energy consumption. Actual savings depend on your home’s insulation, thermostat settings, maintenance habits, and overall cooling needs.
Final Thoughts
Knowing what to expect during an air conditioner installation can make the process far less stressful. From the initial inspection to the final performance check, every step is designed to ensure your new cooling system operates safely and efficiently.
While installation day may seem like a major project, experienced HVAC professionals follow proven procedures to minimize disruption and deliver reliable results. Asking questions, preparing your home in advance, and understanding the installation process can help you feel confident throughout the project.
Choosing professional installation is just as important as selecting the right equipment. When your system is properly sized, correctly installed, and regularly maintained, you’ll enjoy improved comfort, better energy efficiency, and dependable cooling for years to come.